


Installing a kitchen sink faucet might seem daunting, but it’s actually a straightforward and incredibly satisfying home improvement project you can tackle yourself. Whether you’re upgrading to a sleek new design, replacing a leaky old fixture, or simply looking to refresh your kitchen’s look, this comprehensive step-by-step guide will walk you through the entire process.
From gathering the essential tools to applying the final touches, we’ll cover everything you need to know about how to install a kitchen sink faucet successfully. With clear instructions and helpful tips, you’ll gain the confidence to complete this DIY kitchen installation, saving money on plumbing costs and enjoying the satisfaction of a job well done. Let’s get started on your kitchen faucet replacement or new faucet installation!
Preparation: What You’ll Need
Thorough preparation is the key to a smooth and successful kitchen faucet installation. Before you begin the actual process of installing a kitchen faucet, ensure you have all the necessary tools and materials readily available. Having everything at hand will prevent frustrating delays and keep your project moving efficiently.
Here’s a comprehensive checklist of what you’ll need:
- New Kitchen Sink Faucet: Your chosen faucet, including all accompanying hardware (gaskets, mounting nuts, supply lines if included). Make sure it’s compatible with your sink’s hole configuration.
- Adjustable Wrench: For tightening water supply lines and other connections.
- Basin Wrench: This specialized, long-handled tool is invaluable for reaching and loosening the nuts that hold the faucet in place under the sink, especially in tight spaces.
- Plumber’s Tape (Thread Seal Tape): Essential for sealing the threads of water supply lines to prevent leaks.
- Plumber’s Putty: Used to create a watertight seal around the base of the faucet and any other openings, preventing water from seeping under the sink.
- Bucket: To catch any residual water when disconnecting old supply lines.
- Towels or Rags: For spills and leaks, keeping your workspace dry.
- Flashlight or Headlamp: The area under the sink can be dark, so good illumination is crucial for visibility.
- Safety Glasses: Always wear these to protect your eyes from debris or drips.
- Utility Knife or Scraper: For removing old caulk or plumber’s putty from the sink surface.
- Cleaning Supplies: To thoroughly clean the sink surface before the new faucet goes in.
- Gloves: Optional, but can protect your hands.
Having these items organized and ready will streamline your DIY kitchen faucet installation and help you avoid common pitfalls.
Step 1: Remove the Old Faucet
 The first step in how to install a kitchen sink faucet is to remove the old one:
- Turn off the water supply valves under the sink.
- Open the faucet to release any remaining water.
- Disconnect the water supply lines from the faucet.
- Use the basin wrench to loosen and remove the nuts holding the faucet in place.
- Lift out the old faucet.
For a visual guide and more detailed instructions on this step, resources from DIY experts like This Old House can be very helpful.
Step 2: Clean the Sink Surface
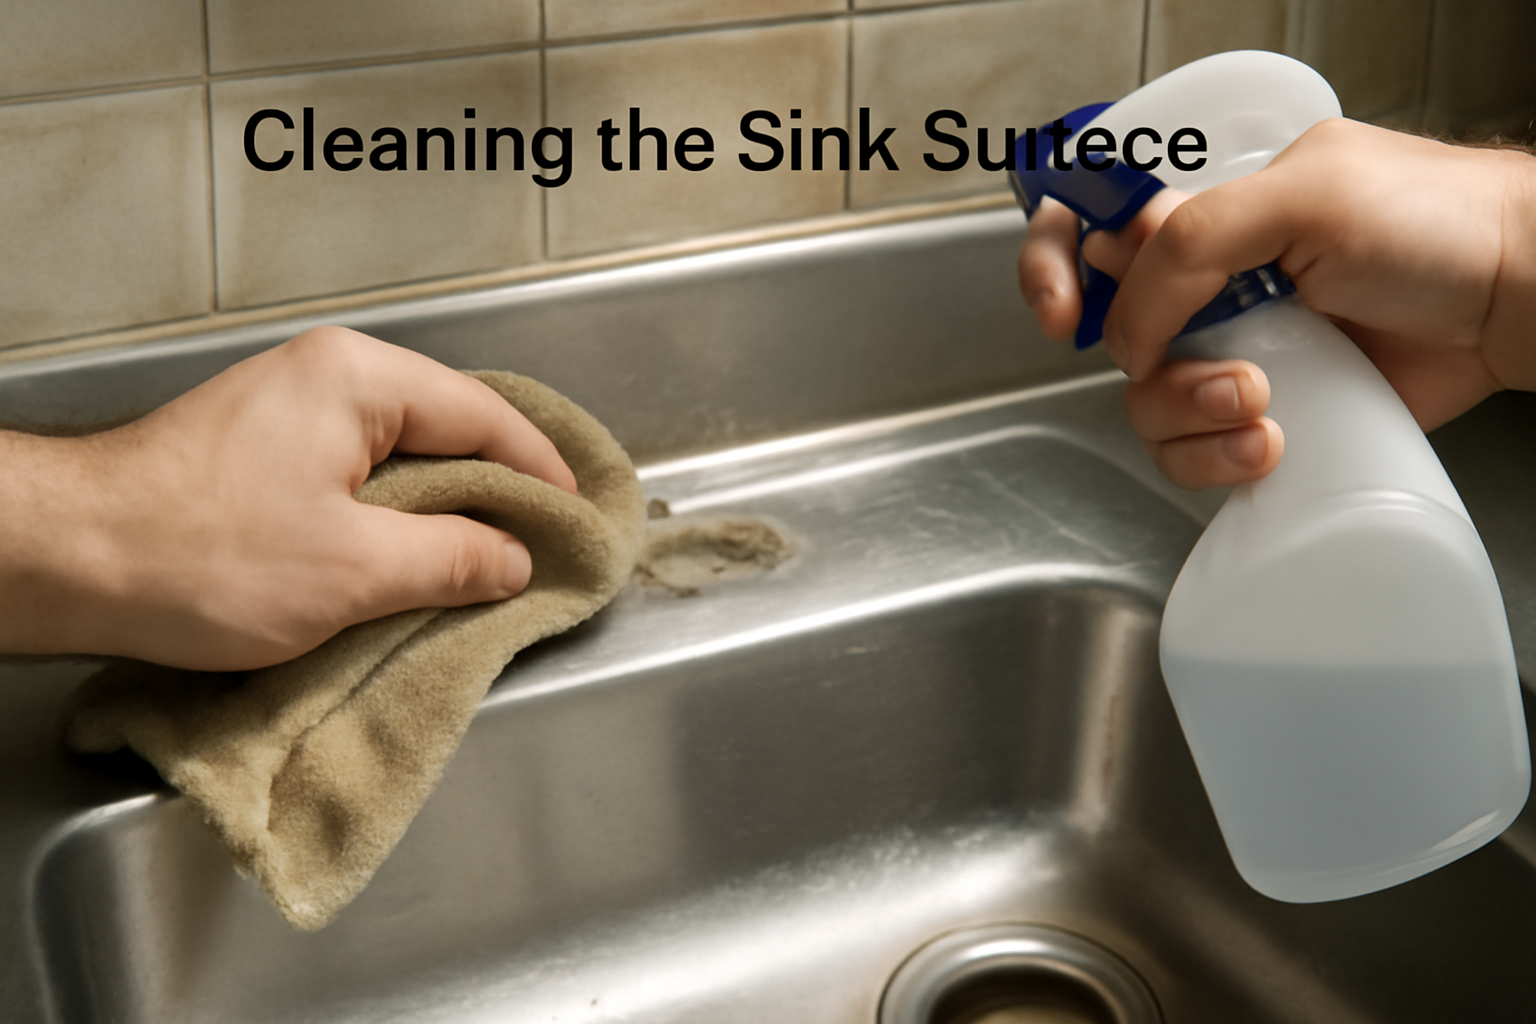 Before installing the new kitchen faucet:
- Clean the area where the old faucet was removed.
- Remove any old plumber’s putty or sealant.
- Wipe the area dry.
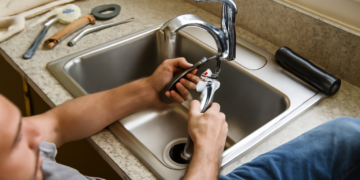
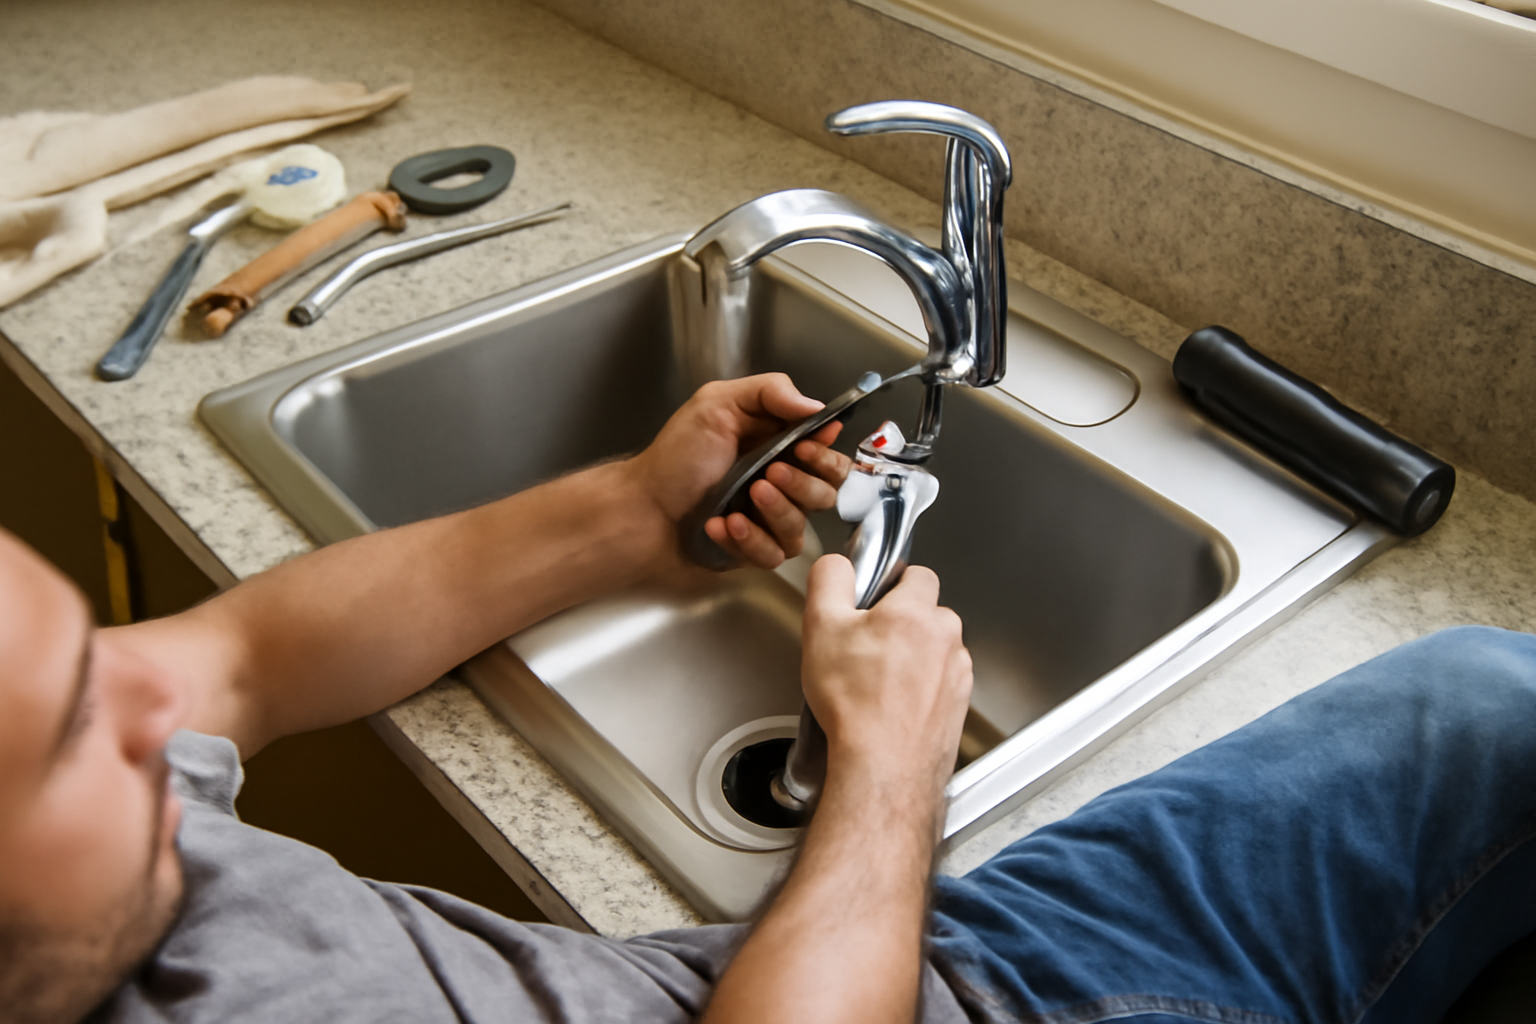
Step 3: Install the New Faucet
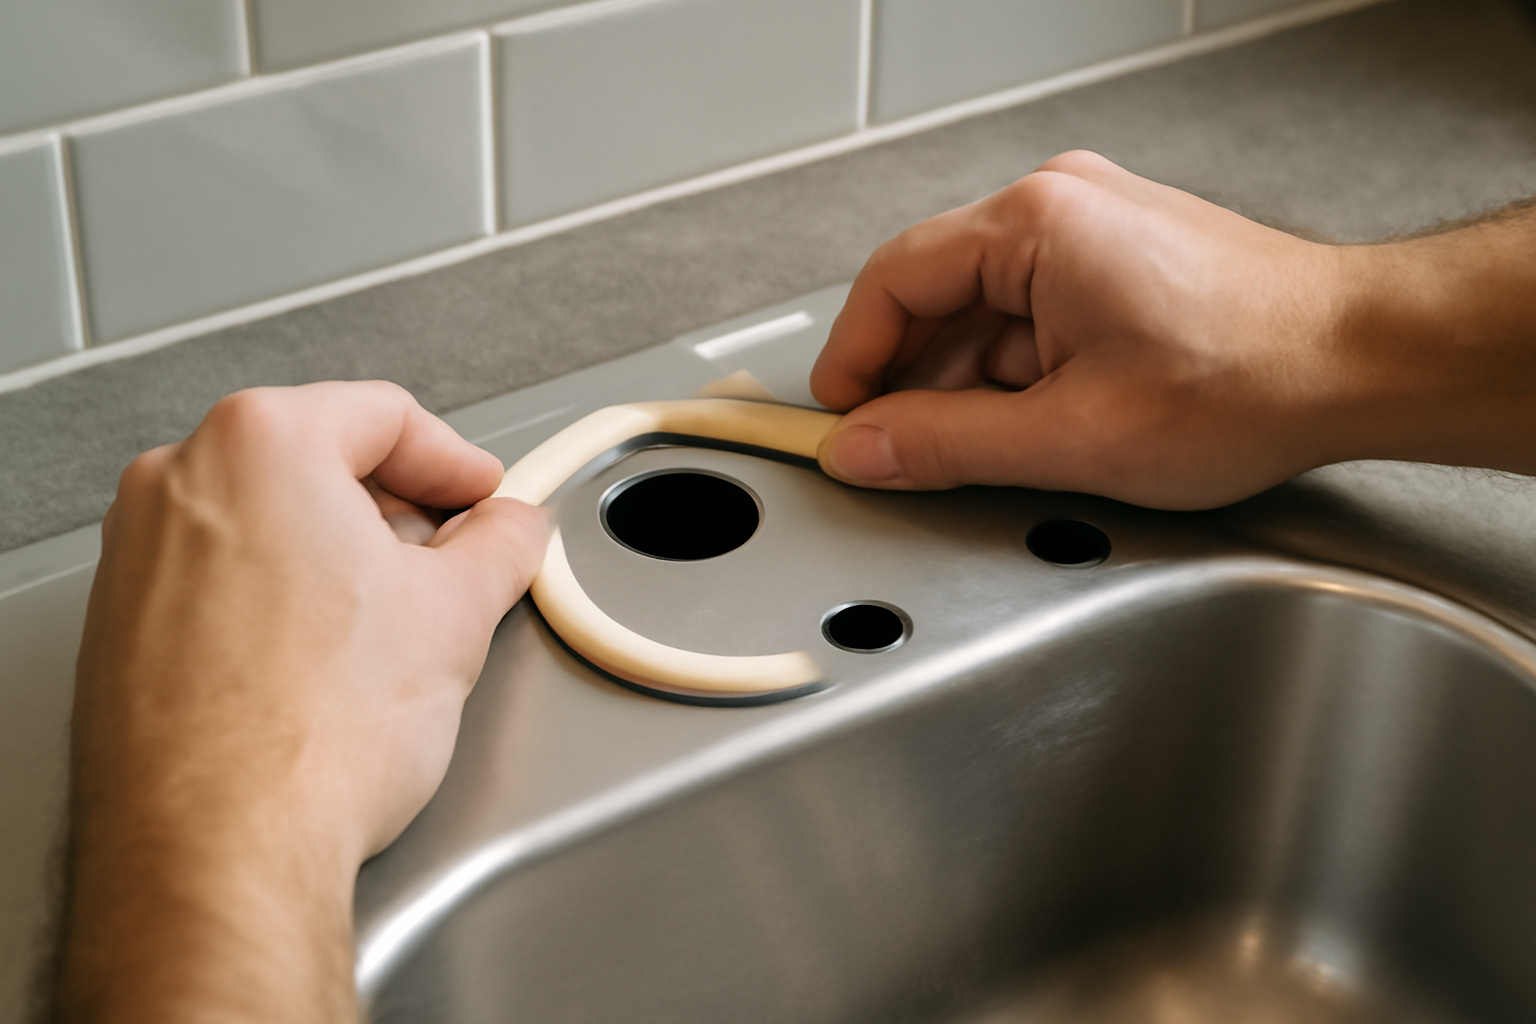 Now let’s start to install the kitchen sink faucet:
- Place a tube of the compound/putty around the place where the new faucet will meet the cabinet and wall to secure the clearance of any water leaks.
- Fit the faucet onto the sink holes.
- Slide in the washers and nuts from underneath the sink.
- Then tighten those up by hand, and then use the basin wrench for a final tightening.
Step 4: Connect the Water Supply Lines
 To finish the kitchen faucet installation:
- Wrap the threads of the supply lines with the plumber’s tape.
- Connect the supply lines to the faucet.
- Tighten the connections with an adjustable wrench.
Step 5: Test the New Faucet
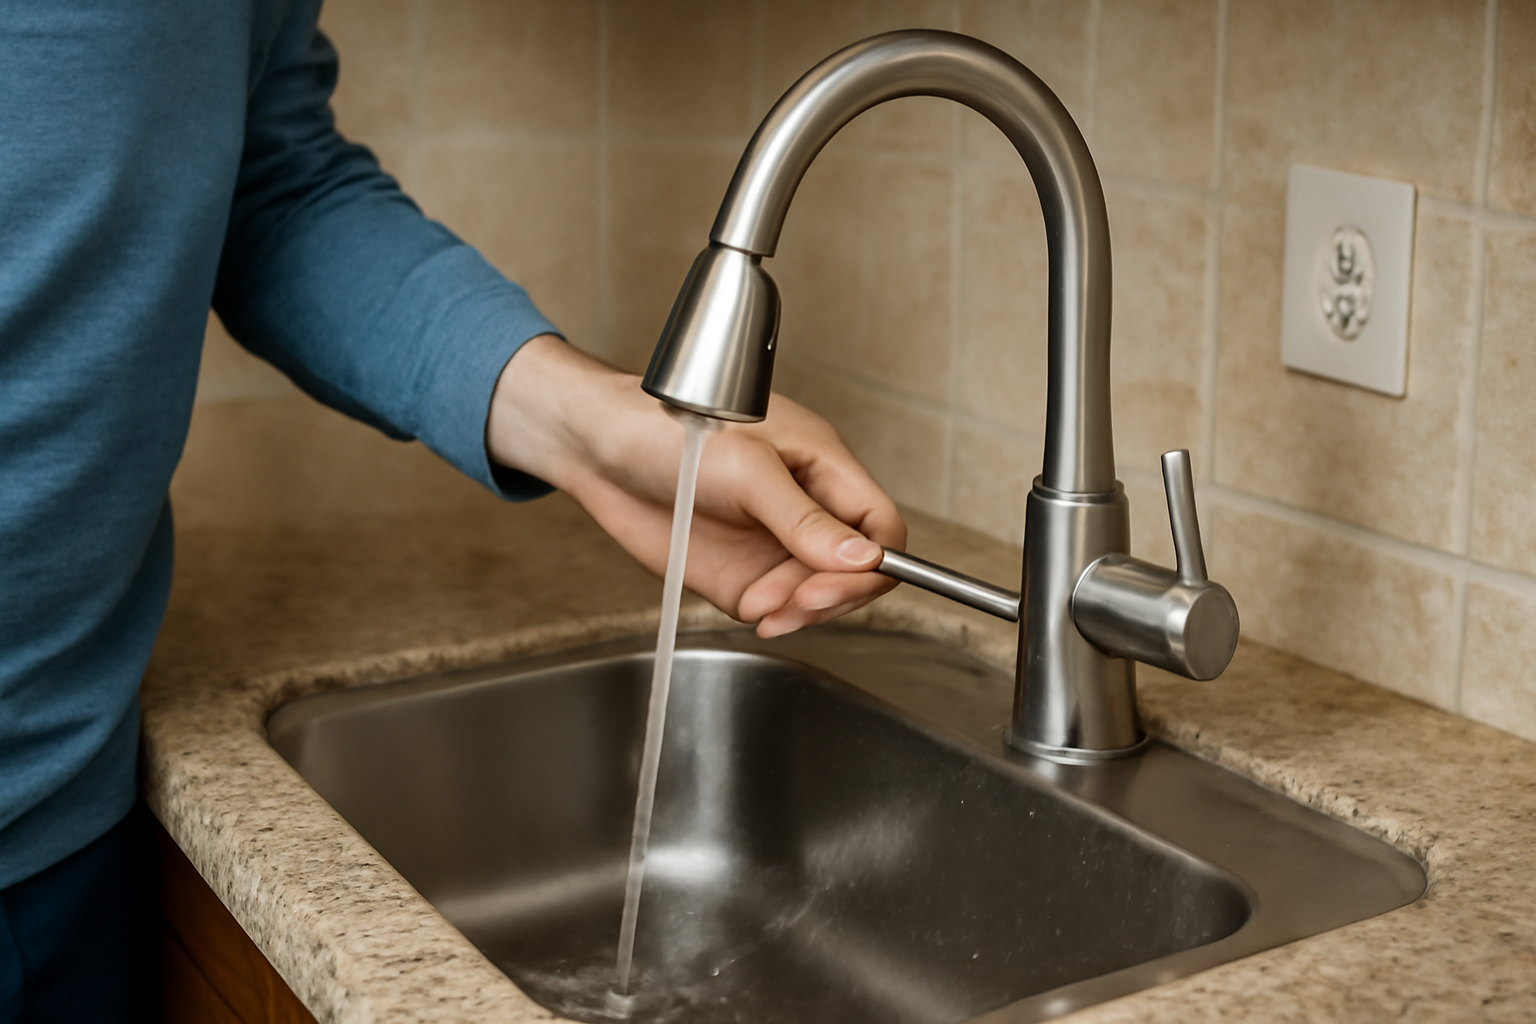 After the installation of the kitchen sink faucet:
- Turn on the water supply valves.
- Look for any leaks by running the faucet.
- If there are any, you have to tighten the connections more.
Tips for a Successful Faucet Kitchen Installation
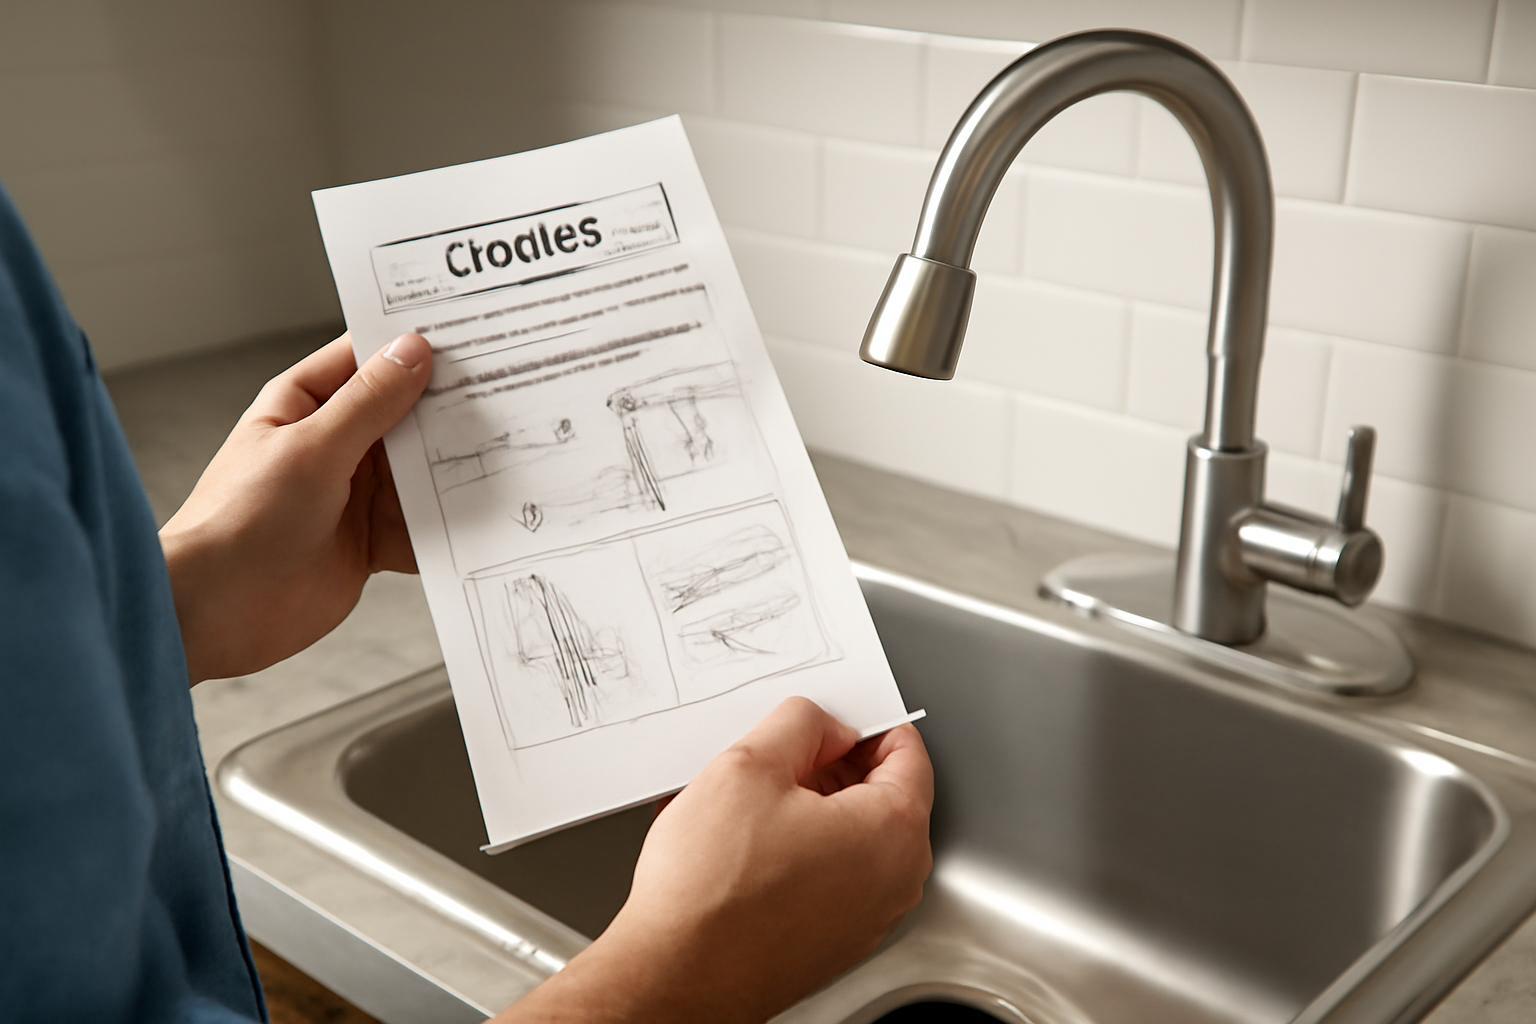
- Familiarize yourself with the cautionary instructions supplied by the manufacturer first.
- Take photos of the old faucet’s setup to serve as a reference you can go back to in case of any complex difficulties.
- Label the hot and cold water lines to avoid confusion.
- Always have an extra pair of hands to help with the main faucet alignment if needed.
If you want more helpful tips to manage your kitchen. Check out our complete guide on the affordable kitchen renovation.
Common Challenges When Installing a Kitchen Sink Faucet
 During the training period for fixing a sink faucet, the following problems may emerge:
- The nuts of the old faucet may corrode or become stuck.
- They may be given tight spaces in the sink cabinet.
- The sink may have wrongly drilled holes for faucet installation.
- Water lines may be leaking.
If you encounter this issue, you might find helpful tips and solutions in discussions on DIY forums like Reddit’s r/HomeImprovement.
Replacing a Kitchen Sink Faucet: When Is It Necessary?
 Decide to replace the kitchen sink faucet when:
- There are persistent leaks.
- It is broken or does not fit the kitchen design well.
- The water pressure is low all the time.
- You see visible corrosion or damage.
If your faucet replacement is part of a larger effort to update your kitchen design, you might find some cost-saving tips in our article on affordable home decor ideas.
How to Change a Kitchen Sink Faucet: Quick Tips

When switching a kitchen sink faucet:
- Try to get yourself a faucet that fits the existing sinkholes.
- Consider the sink’s size and kitchen decor.
- Choose a faucet that has all the features that support your daily cooking and cleaning activities.
How to Install a New Kitchen Sink Faucet: Additional Considerations
 While learning how to install a new kitchen faucet, one should think about these points:
- Check your sink to see how many holes there are before you buy a new faucet.
- Measure the height and reach of the spout to ensure it fits your kitchen and the sink properly.
- Choose a faucet with a finish that matches your kitchen decor.
- Good toiletries are the ones that offer touch technology or a pull-down sprayer for additional convenience.
Faucet Kitchen Installation: Common Mistakes to Avoid
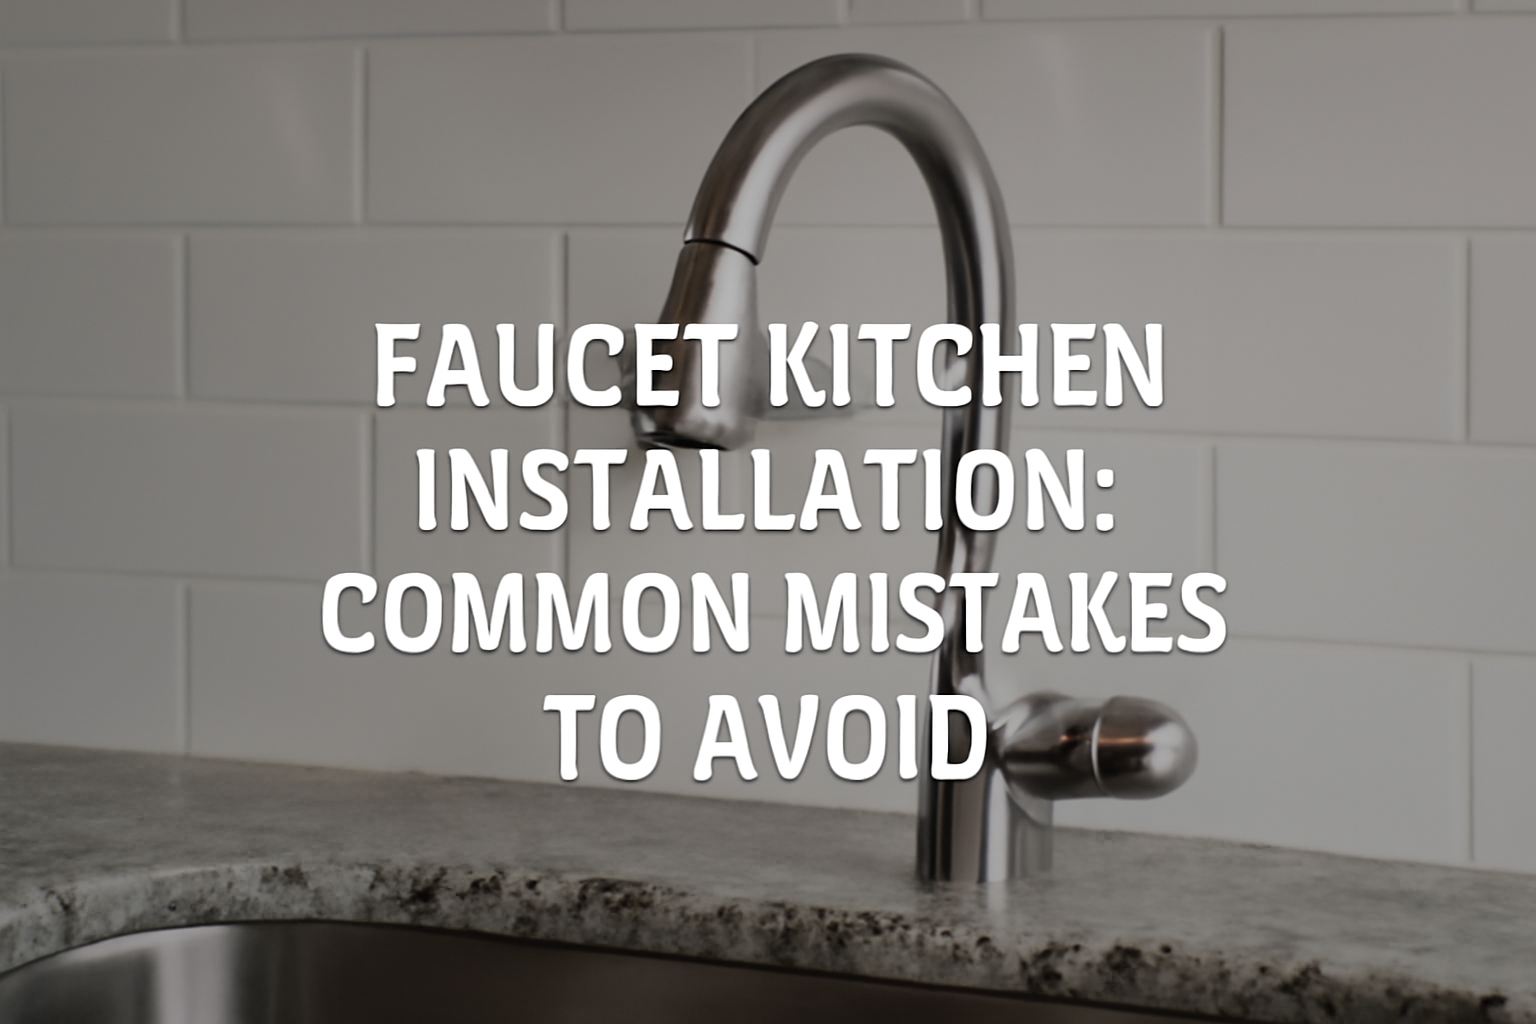 When you install a kitchen faucet, such things could happen:
- Starting the job without turning off the water supply.
- Not properly threading the plumber’s tape on the connections.
- Over-tightening connections may lead to damage.
- Misaligning the faucet during installation.
- Skipping line flushing before final installation.
How to Install a Kitchen Faucet: Maintenance Tips
 After installation, ensure that your kitchen faucets are properly maintained:
- Regularly clean the faucet with mild soap and water.
- Do not use hard cleaners that can scratch the finish.
- Periodically check for leaks and fix them at once.
- Lubricate the parts that move once a year to ensure their quick function.
Install Kitchen Sink Faucet: Troubleshooting Guide
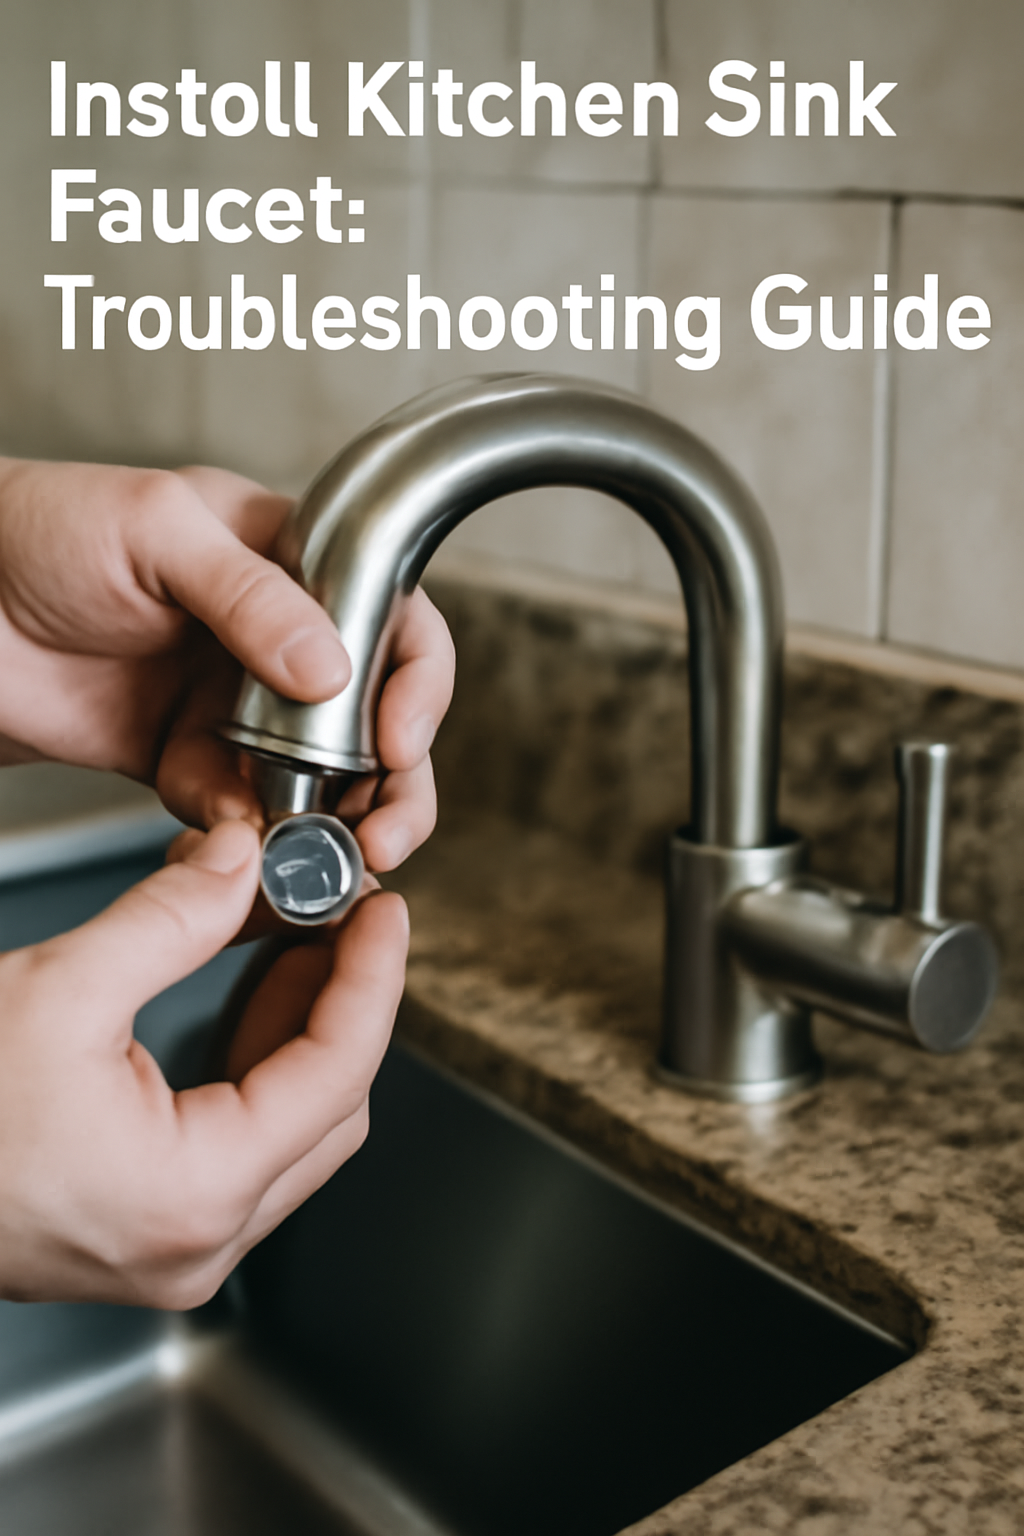
Here are some solutions to the problems that you might encounter after you install the kitchen sink faucet:
- For low pressure in hot water, monitor and clean the aerator.
- If there is still a small leak near the base, you can try to tighten the mounting nuts first.
- For drips from the spout, replacing the cartridge or seal can be done.
- If you are getting irregular temperatures, try checking the mixing valve.
How to Install a Sink Faucet: Safety Precautions
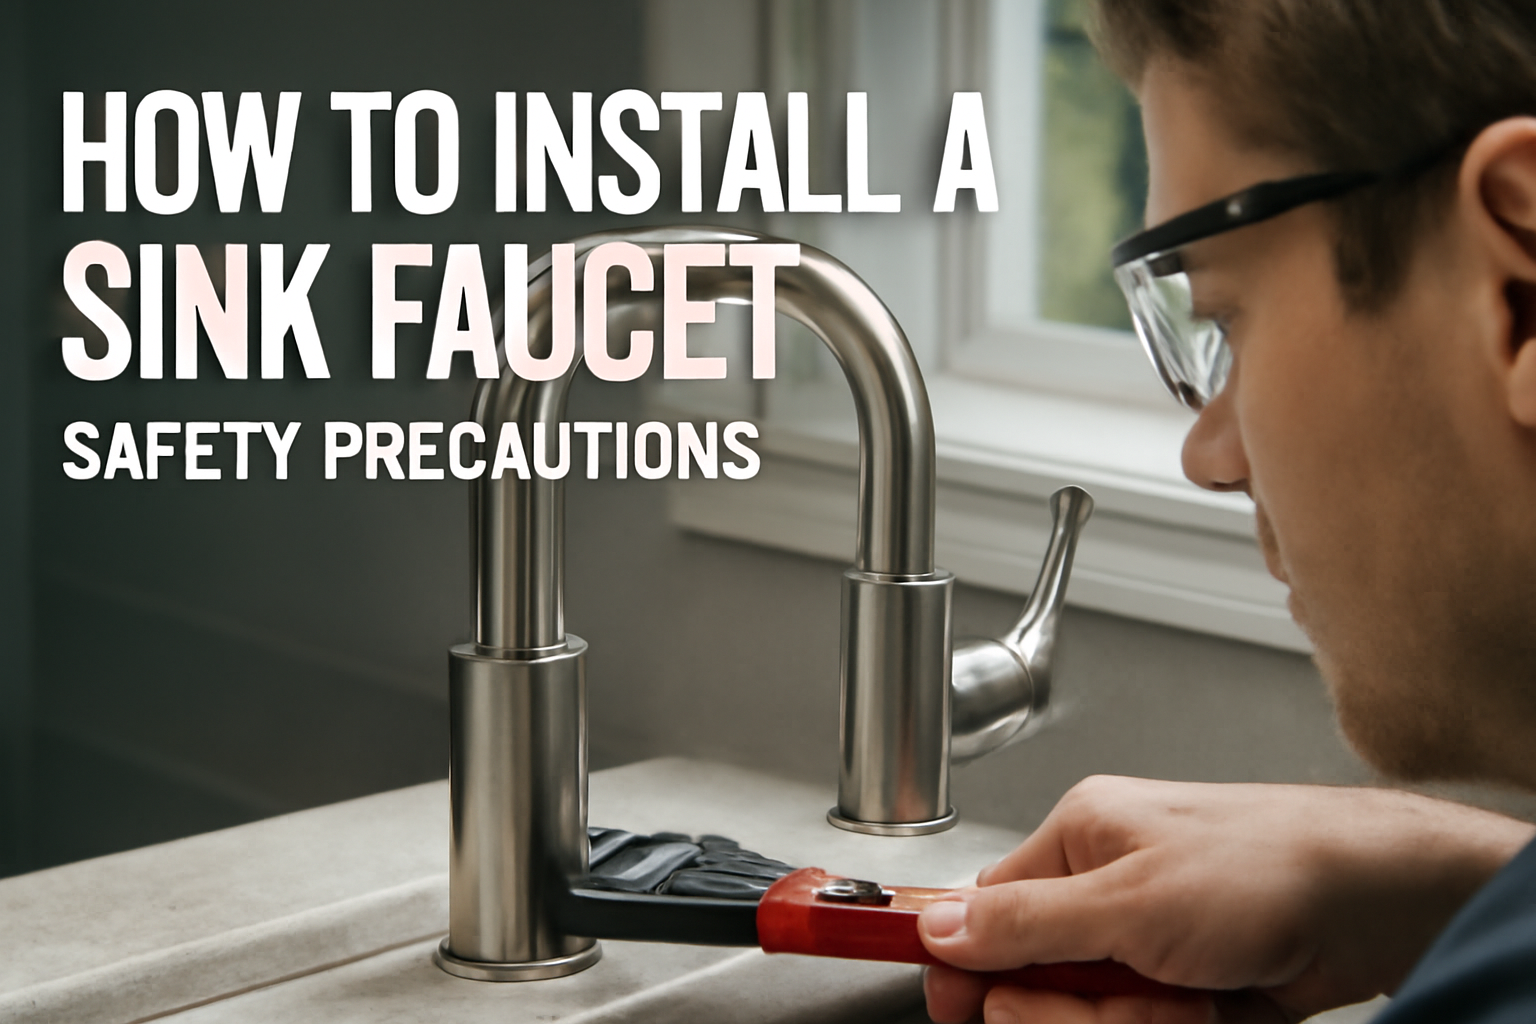
Alright, let’s talk about something super important. We all want to get that new kitchen faucet in. But hey, safety always comes first! When you’re tackling a DIY project like this, a little caution goes a long way. So, before you grab your tools, let’s chat about staying safe.
- Protect Your Eyes! Seriously, wear safety glasses. Always. Little bits of debris can fly around. Water can splash. Tools can slip. Your eyes are important. Keep them safe from anything nasty.
- Watch Those Sharp Tools. You’ll use wrenches. You’ll use knives. These tools are helpful. They can also be sharp. Be careful with them. Pay attention to what you’re doing. A quick slip can cause a cut. We don’t want that.
- Breathe Easy. Sometimes you use cleaning sprays. Maybe you have old gunk under the sink. These things can make fumes. Open a window. Or open a door. Get some fresh air flowing. Good ventilation is smart. It keeps your air clear.
- Save Your Back. Working under a sink means bending. It means twisting. Be kind to your back. Don’t push too hard. Take breaks. Stretch a little. Lifting can be tricky. Ask for help if you need it. Protect those muscles and nerves.
For more big-picture safety tips on all kinds of home projects, checking out expert sources like OSHA is always a good idea. They have tons of info. Staying safe makes installing your kitchen sink faucet a much better experience!
Choosing the Right Kitchen Sink Faucet
Okay, so you’re ready to install a new kitchen faucet. But first, you gotta pick the right one! This part is actually pretty fun. There are tons of kitchen faucets out there. Knowing a little about them helps a lot. It makes your choice way easier. Let’s figure out which one is perfect for your kitchen!
Types of Kitchen Faucets

When you’re thinking about how to install a kitchen sink faucet, you’ll see lots of different kinds. Each one works a bit differently. Each one looks unique. Let’s break down the main types. This will help you pick.
- Single-Handle Faucets. These are super common. You get one handle. It controls both hot and cold water. You can also change the water flow. They are easy to use. They look really clean. A lot of people love this style.
- Double-Handle Faucets. These faucets have two handles. One is for hot water. One is for cold water. You turn them both to get your perfect temperature. They often have a classic look. They fit well in traditional kitchens.
- Pull-Down Faucets. These are so handy! The sprayer head pulls right down. It’s built into the main spout. You can reach all over your sink. They are great for rinsing big pots. Cleaning the sink is a breeze. Most kitchens love these now.
- Pull-Out Faucets. These are similar to pull-down faucets. But the sprayer pulls straight out. It doesn’t arc downwards. Some people find them easier to use. They work well in smaller sinks. They are also very practical.
- Touchless Faucets. Wow, these are high-tech! You just wave your hand. Water turns on or off. No need to touch the handle. This is super hygienic. It’s great when your hands are messy. They add a modern touch.
Factors to Consider

Okay, you know the types now. Before you jump in and buy a new kitchen faucet, let’s think about a few things. These little points will make sure you pick the absolute best faucet for your kitchen.
- Sink Set-Up. How many holes does your sink have? This is a big one. Some faucets need just one hole. Others need two or three. Make sure your new faucet matches your sink. You can also get a base plate. That helps cover extra holes. Check your sink first!
- Water Pressure. How’s your water pressure? Some faucets work best with strong pressure. Others are fine with less. Read the faucet’s details. You want your water to flow nicely.
- Kitchen Accessories and Layout. Think about your sink space. Do you have a window nearby? Does it open inward? Does your faucet need to clear anything? What about soap dispensers? Or maybe a sprayer? Plan for everything around your sink. Your kitchen layout matters here.
- Finances. We all have a budget. Faucets come at all price points. Set your spending limit. There are great options for every budget. Don’t feel like you need the most expensive one. Smart choices make for happy wallets. And remember our affordable home decor ideas can help you save!
- Warranty and Durability. You want your faucet to last. A good warranty is a good sign. It means the company trusts its product. Look for sturdy materials. Stainless steel is good. Solid brass is also great. You want a faucet that holds up. This makes your kitchen faucet installation worthwhile.
By thinking through these points, you’ll be super ready. You’ll find the perfect kitchen sink faucet for your home. Then, you can get to the fun part of installing it yourself!
Advanced Tips for Kitchen Faucet Installation
Working with Different Sink Materials
 The process of installing a kitchen sink faucet can vary depending on the sink material:
- Stainless Steel Sinks.
- Porcelain Sinks.
- Granite Composite Sinks.
- Cast Iron Sinks.
Installing Additional Features
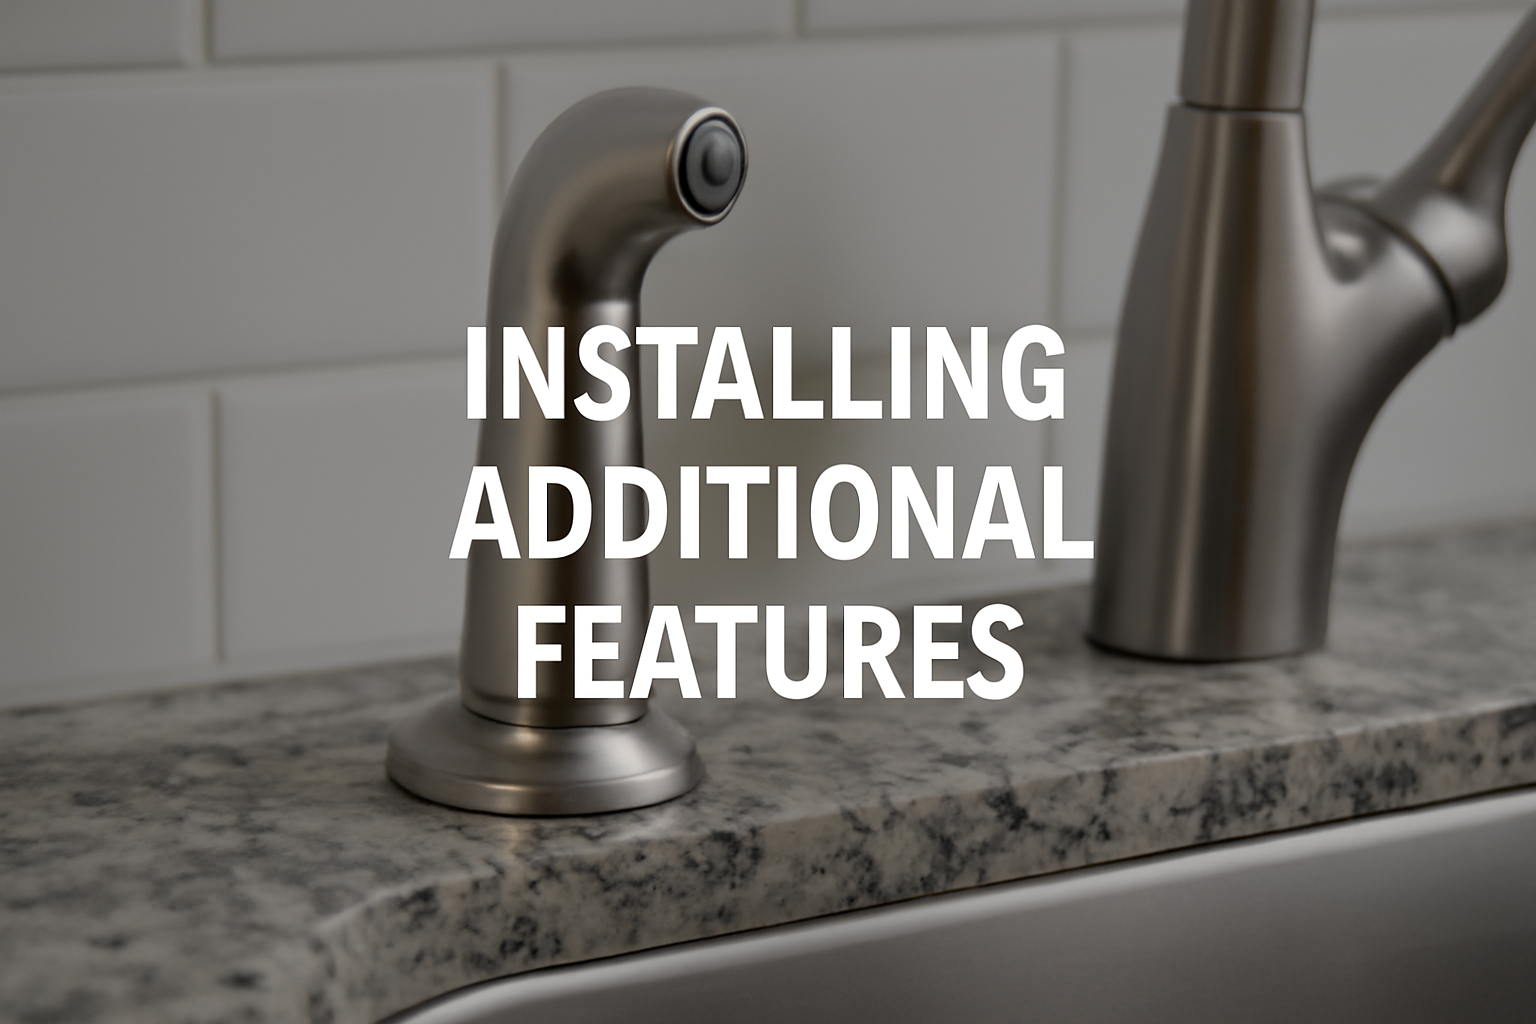
Sometimes, a new kitchen faucet comes with cool extras. Or maybe you want to add them! These are fun features. But they might need their own little installation steps. They don’t always go in right with the main faucet. So, always check the instructions for these. Let’s look at a few popular ones.
- Side Sprayers. Some sinks have an extra hole for a side sprayer. It’s a separate nozzle. It helps you rinse dishes. You connect it to your main water line. It usually has its own hose. Make sure your sink has a hole for it!
- Soap Dispensers. Want to clear up your counter? A built-in soap dispenser is amazing! It usually drops into another sink hole. You fill it from the top. Then you just pump. It’s super tidy. It’s also really convenient.
- Hot Water Dispensers. Imagine instant hot water for tea! Some faucets offer this. It’s a small tank under your sink. It heats water fast. You connect it to a separate spout. This is a real luxury. It needs its own power outlet.
- Water Filtration Systems. Fresh, clean water right from your tap! Some faucets have a filter built-in. Others let you add a separate filtration system. This usually involves another line. It runs from your cold water pipe. It’s great for drinking water. It can save you money on bottled water.
Adding these features makes your kitchen sink faucet even more useful. Just remember to read the manual for each one! Your DIY kitchen installation will be amazing.
Conclusion
Well, there you have it! Installing a kitchen sink faucet is a totally doable DIY project. It might seem big at first. But it’s really not too scary. This kind of work can truly change your kitchen’s whole feel. You can give it a mini-makeover. And you get to do it all yourself!
Following these steps will help so much. You save money. You learn a new skill. And that feeling of doing it yourself? It’s pretty great. Just make sure you have the right tools. Turn off that water supply first! Always follow your faucet’s instructions. A little patience helps a lot. Being careful helps too. You can totally put in a new kitchen faucet without a fuss.
We hope this guide helped you. It’s awesome to do home projects. If you’re looking for more fun DIY ideas for your home, we have more! Check out our article on top DIY bathroom remodel ideas. It’s great for budget-friendly updates too!
FAQs
Q: How long does it take to install a kitchen sink faucet?
A: Most people usually finish this in 1-2 hours, but a beginner might take longer
Q: Do I need special tools to install a kitchen faucet?
A: No, standard tools, including wrenches and pliers, would be perfect to do that.
Q: Can I install a kitchen faucet myself?
A: Yes, a vast majority of people can actualize this task all by themselves if they are equipped with the right materials and guided accordingly.
Q: How often should I replace my kitchen faucet?
A: On the basis of its main life cycle, a kitchen faucet has a 15-20-year life span. Replace them as soon as they start showing issues if you find them out.
Q: What should I do if my new faucet leaks after installation?
A: Fasten the connections and check if they are leaking. You should also seek the advice of either the manufacturer or a plumber if the leak is still a problem.
Are you ready to improve your kitchen on your own? These simple tips will make it easy for you to install a kitchen sink faucet. Avoid calling a plumber and do the job yourself with simple tools. You can change the look of your sink in minutes, even if you have never done it before. Let us begin right now!


